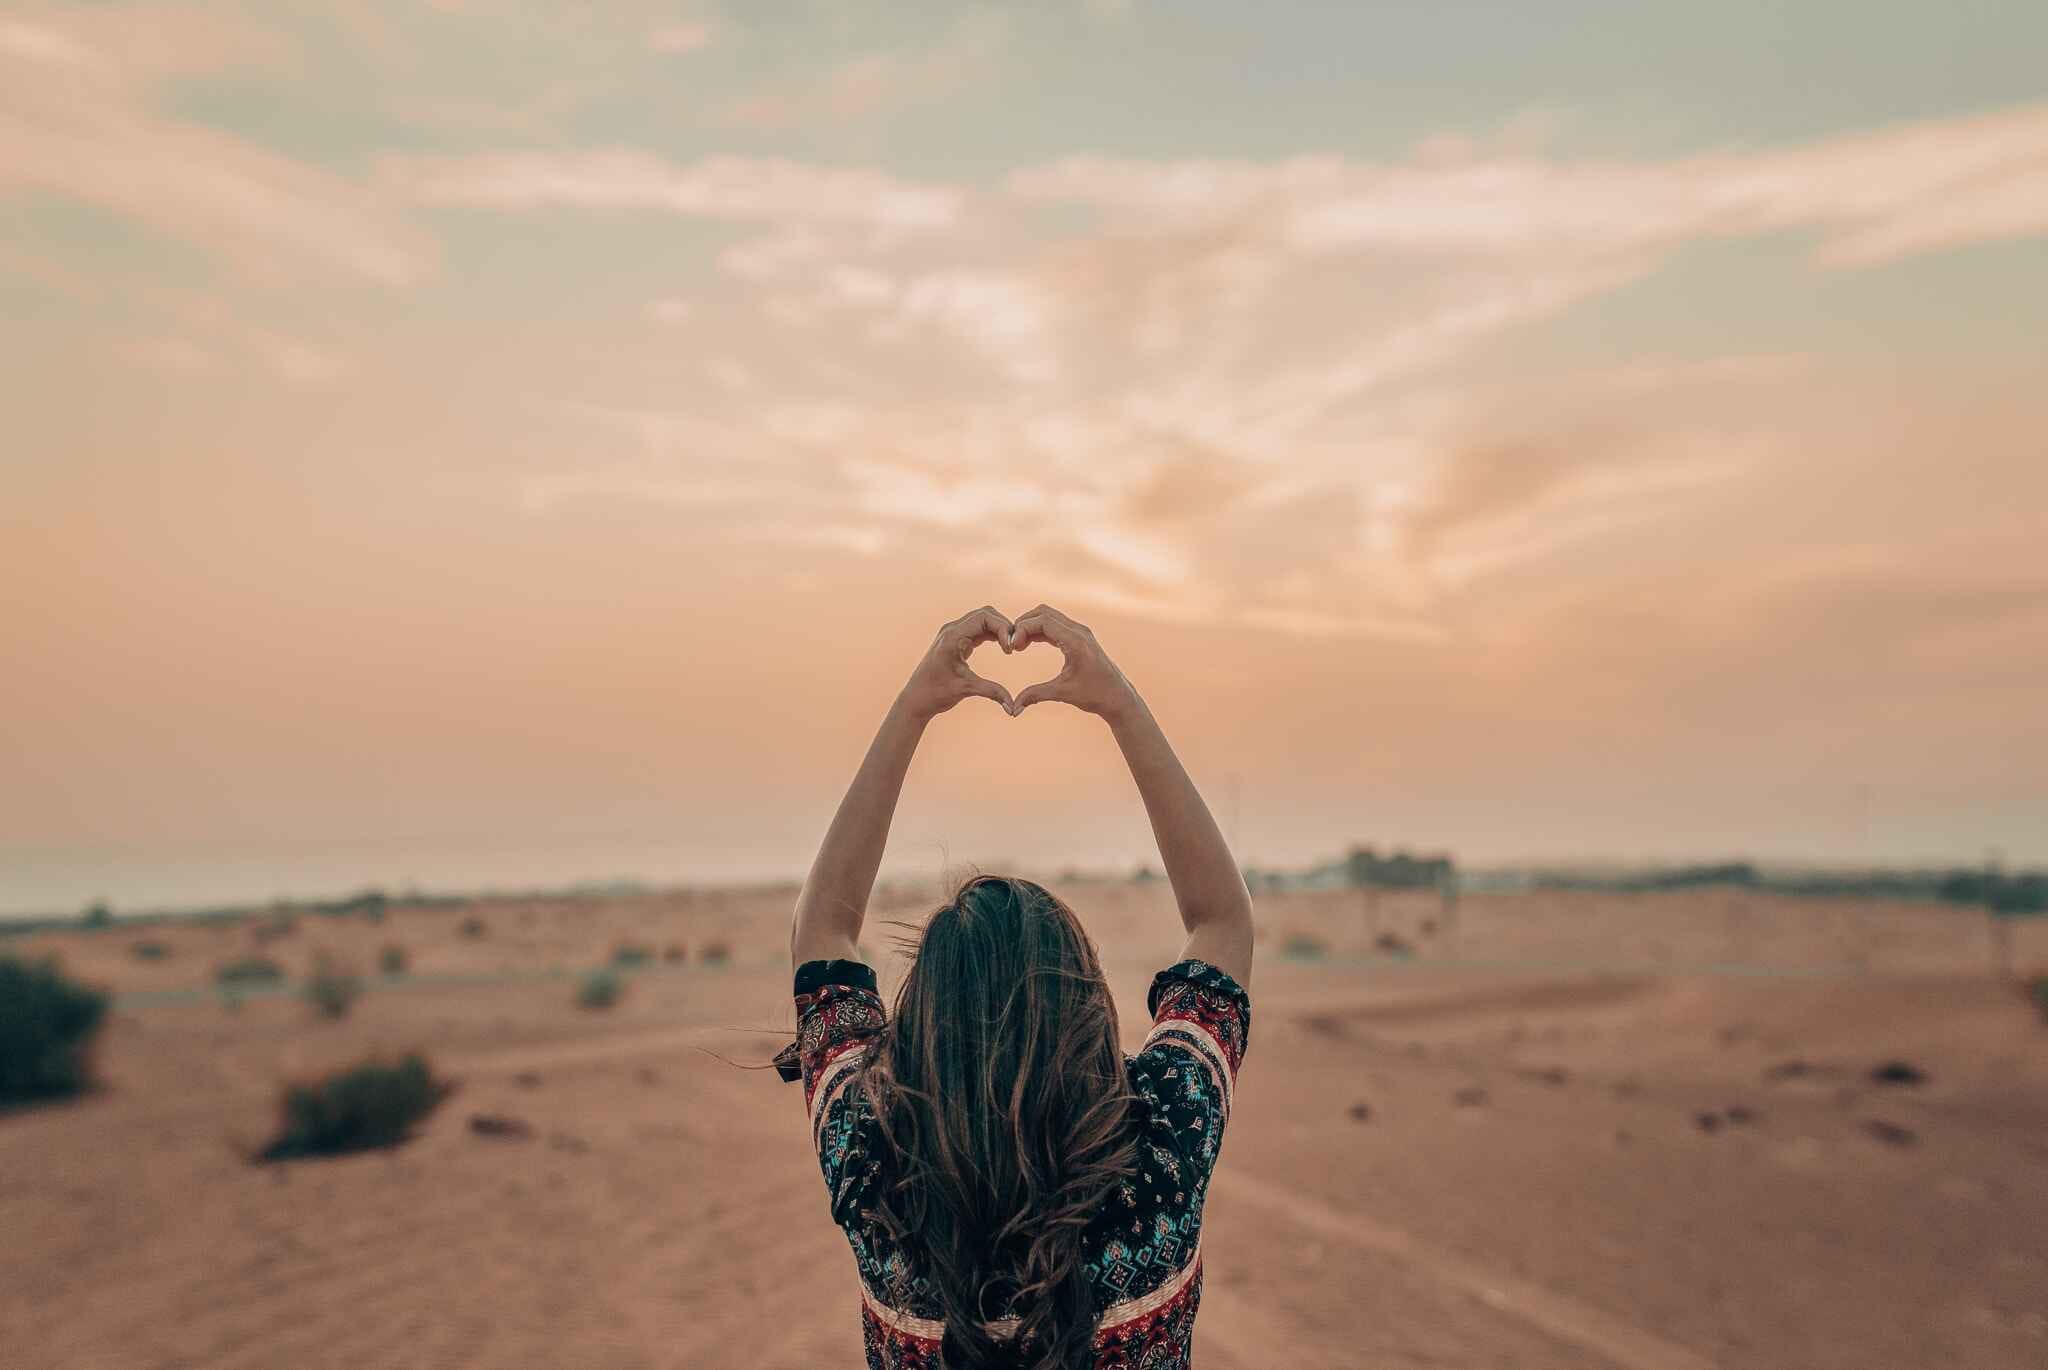
The vast red dunes of Dubai represent a dreamscape for photographers. The combination of sculptured wind ripples, shifting shadows, and glowing warm light during golden hour produces world-class imagery. Once the sun dips below the horizon, the unpolluted desert skies transform into a canvas for breathtaking astrophotography.
Quick Camera Settings & Rule of Thumb
For Golden Hour dunes, set your DSLR/mirrorless to Aperture Priority (f/8 to f/11), ISO 100, and underexpose by -0.7 EV to preserve warm crimson highlights without blowing out sky detail. For Milky Way Astrophotography, mount your camera on a sturdy tripod, shoot in Manual mode with your widest lens at f/2.8, Shutter Speed 15–20 seconds, ISO 3200–6400, and manual focus set to infinity. On iPhone/Android, use Night Mode with a 10–30 second tripod exposure and lock AE/AF focus.
To experience dark skies away from Dubai's downtown glow, book our overnight desert safari with astronomy stargazing or our luxury dome overnight desert safari camp. Browse all scenic routes in our Dubai desert safari tours catalog.
Golden Hour Dune Composition: Angles & Textures
Golden hour occurs roughly 45 minutes before sunset (between 17:15 PM and 18:00 PM depending on season). Shoot perpendicular to the setting sun to capture high-contrast cross-lighting that emphasizes the sharp ridge line separating lit sand from dark shadow bowls.
Compose with a human silhouette, camel caravan, or sandboarder in the lower third of the frame to establish scale against massive 300-foot dunes. If you are preparing outfits for an editorial shoot, review our style advice in desert clothing and gear advice.
Camera & Smartphone Photography Cheat-Sheet
| Scene / Time | Camera Aperture | Shutter Speed | ISO Setting | Smartphone Equivalent Setup |
|---|---|---|---|---|
| Golden Hour Sand Ripples | f/8.0 – f/11.0 | 1/250s – 1/500s | ISO 100 | Main 1x lens, tap ridge to expose, drag sun slider down |
| Dune Bashing Action Drift | f/5.6 – f/8.0 | 1/1000s – 1/2000s | ISO 200 – 400 | Burst Mode / Action Mode (locks vehicle in freeze-frame) |
| Blue Hour Camp Lanterns | f/2.8 – f/4.0 | 1/30s – 1/60s | ISO 800 – 1600 | Portrait Mode with 2-second Night Mode hand-held |
| Milky Way Desert Astrophotography | f/1.8 – f/2.8 | 15s – 20s (Rule of 500) | ISO 3200 – 6400 | Tripod mounted, Night Mode locked to maximum 30 seconds |
Preventing Catastrophic Sand Ingress in Camera Gear
Fine desert sand in the Lahbab region has an average particle size of just 0.1 to 0.3 millimeters. Never change camera lenses while standing outdoors in the open wind, as microscopic dust grains will adhere permanently to your digital sensor.
Always attach a high-quality UV or clear protector filter on your front glass, carry a silicone rocket air blower (never use canned compressed air which can freeze coating), and keep your camera inside a zipped bag when not actively shooting.

Overnight Desert Safari
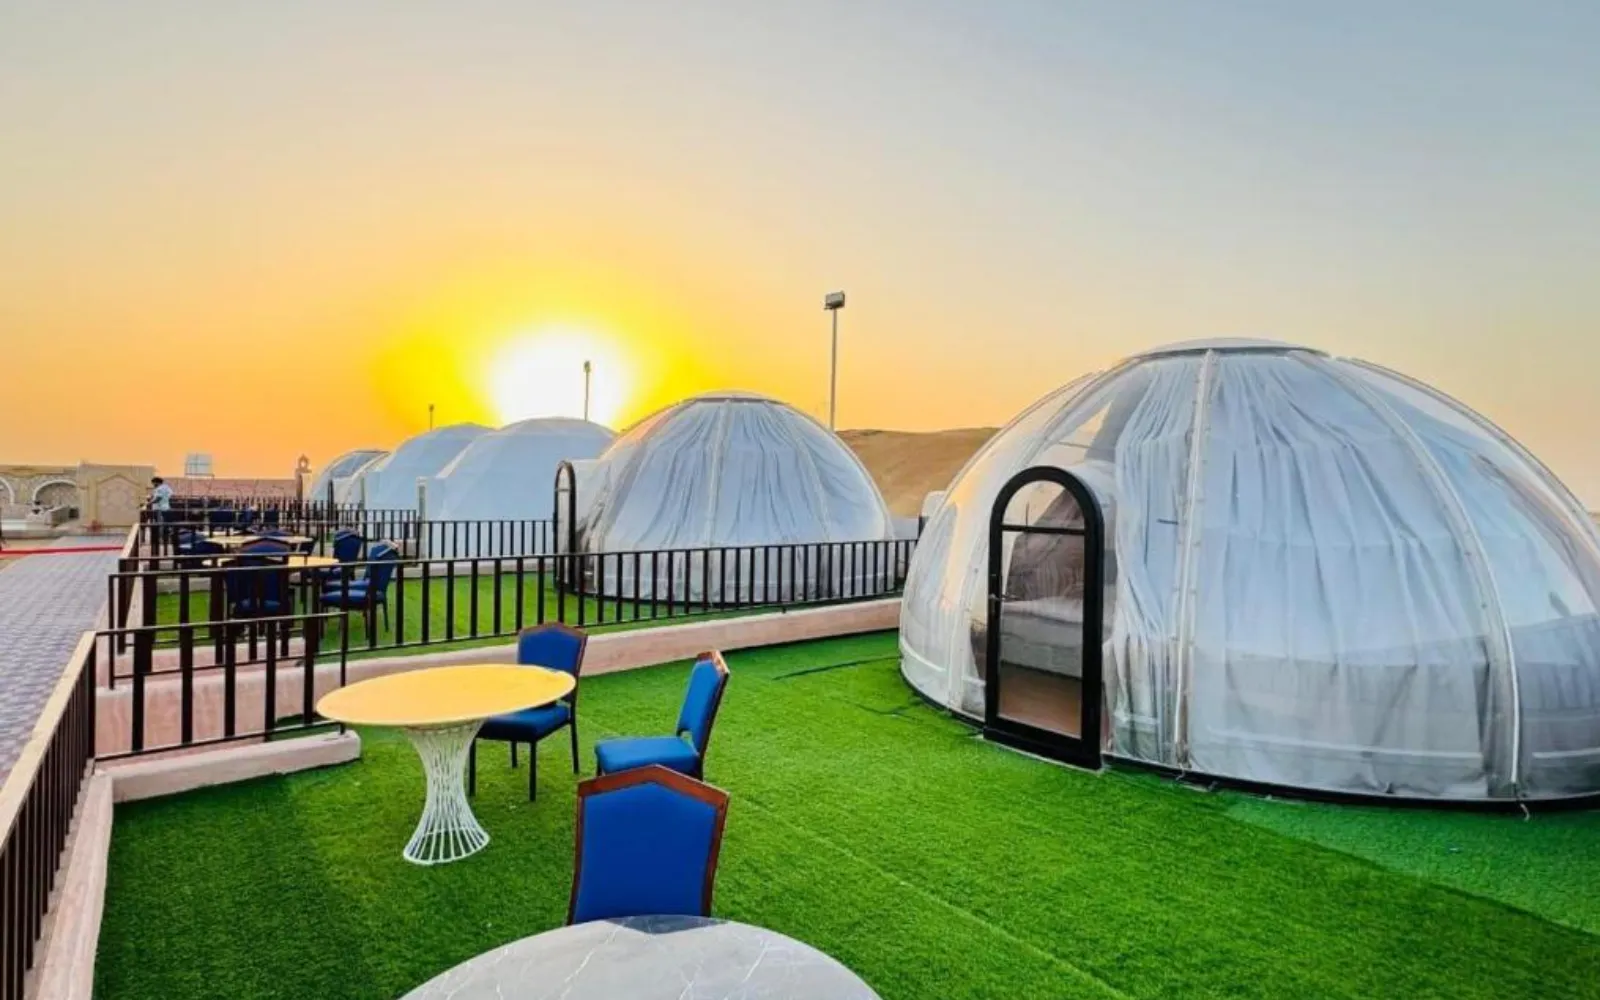
Dome Overnight Desert Safari
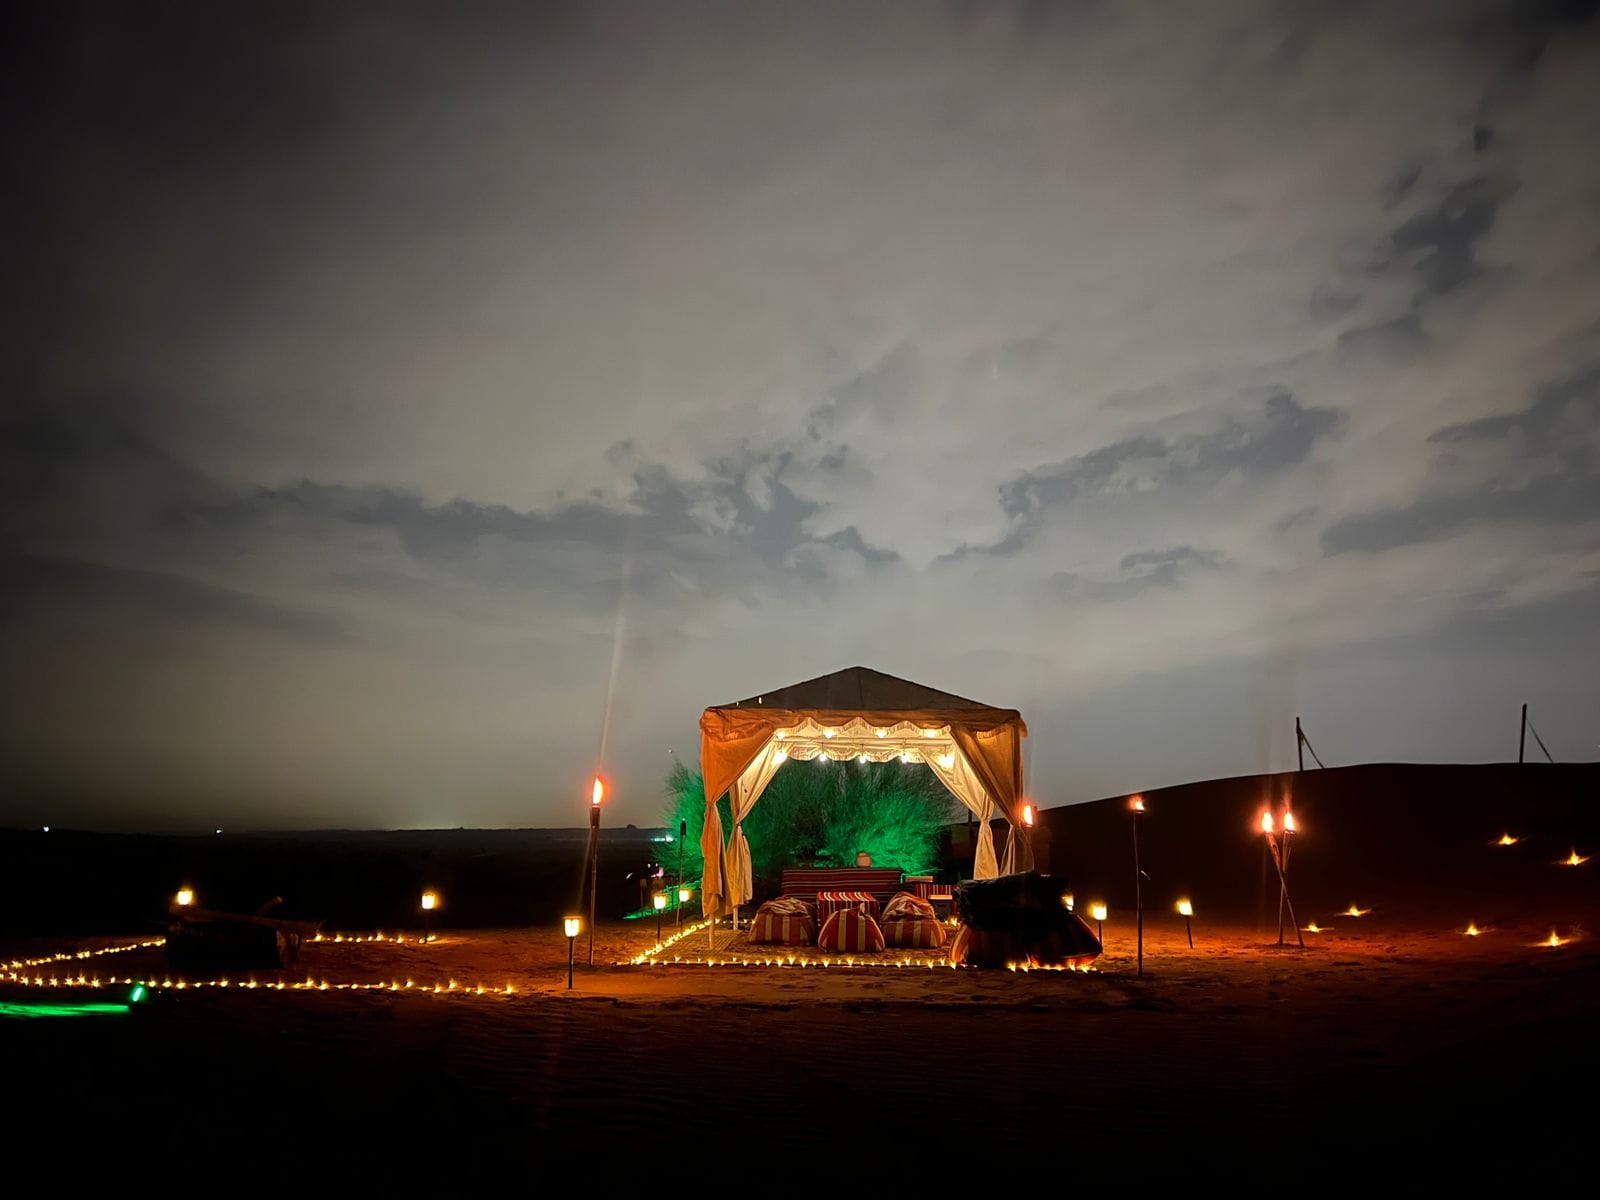
Astrophotography Rule of 500 Explained
Because the Earth rotates, long exposure star photos can suffer from star trailing if your shutter stays open too long. Calculate your maximum exposure using the 500 Rule: Divide 500 by your lens's full-frame focal length.
For example, with a 16mm wide-angle lens, 500 / 16 = 31.25 seconds. To ensure pinpoint stars, set your shutter to 20 seconds at f/2.8 with ISO 3200. Couples seeking romantic night portraits under the stars can read our guide on romantic desert proposal setups.
Editing Desert RAW Files: Preserving Natural Tones
When processing in Lightroom or Snapseed, avoid over-saturating the reds, which can make dunes look nuclear orange. Instead, balance the white balance toward 5500K – 6200K, gently boost the Dehaze slider by +10, and lower highlights to restore cloud gradients.